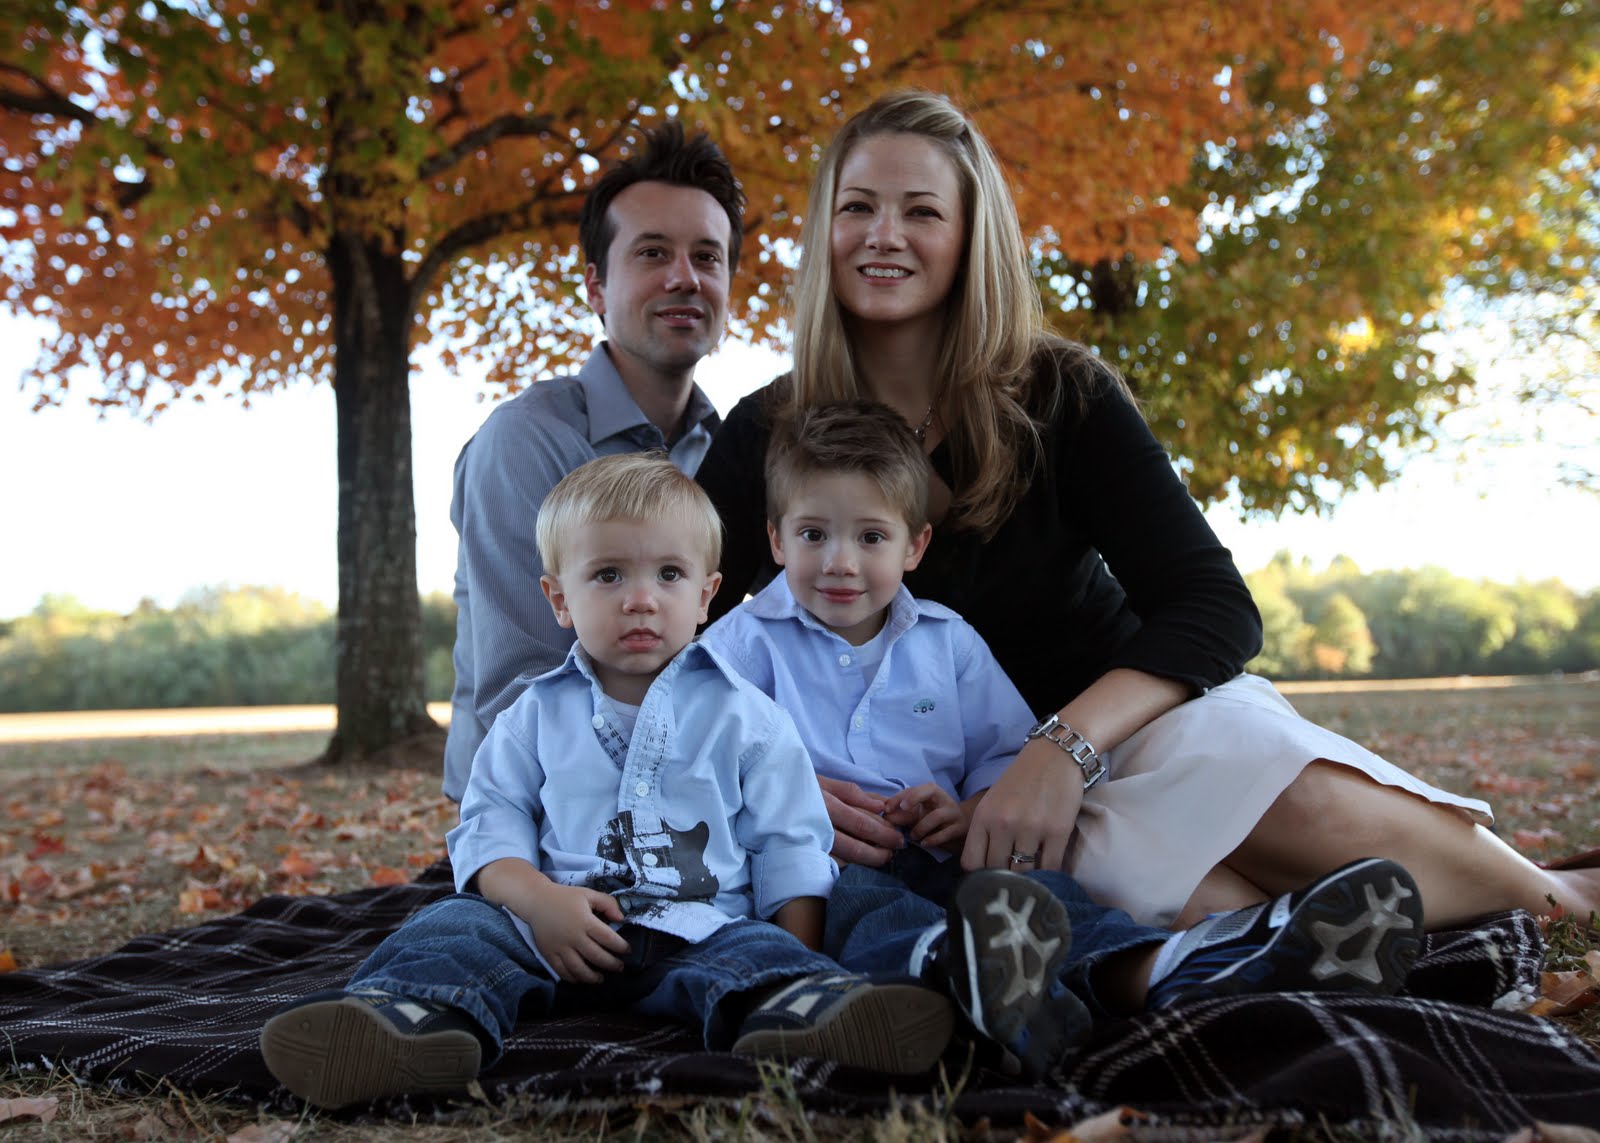
This year the Crosby clan made a few hard choices, and decided to stay home for the holidays. Since Andre's family is in LA, and my family is in FL...this leaves us in the middle...alone. BUT fear not! We have a beautiful church family, and our amazing Bishop Coleman and his wife asked us over. We have spent Christmas with them before, and since we love this family mucho grande! we decided to accept their gracious invite. Indeed, we were filled with love, laughter, but no pumpkin pie. Well, to be fair, there was pumpkin pie on the menu, however my pumpkin cupcakes stole the show! These delectable cupcakes were my contribution along with my "go to" side dish, roasted fresh green beans. Here's the recipe for the cupcakes. We'll save the roasted green beans for another day... :)
Pumpkin Cream Cheese Cupcakes
What You Need:
1 pkg. yellow cake mix
Make It:
HEAT oven to 350°F, and place cupcake papers in cupcake pan.
BEAT cake mix, 1 cup pumpkin, milk, oil, eggs and 1 tsp. spice in large bowl with mixer until well blended. Spoon into cupcake pan.

BAKE 16 min. or until toothpick inserted in centers comes out clean. Cool in pans 10 min. Remove from pans to wire racks; cool completely.

BEAT cream cheese in medium bowl with mixer until creamy. Add sugar, remaining pumpkin and spice; mix well. Gently stir in whipped topping. Refrigerate until cupcakes have cooled completely.

Place a couple of spoonfuls of mixture into a Ziploc baggie, and snip one corner off. 
Stick this corner into cupcakes, and squeeze filling into cupcake. Do this carefully, as not to break open cupcake any more than necessary. 
Decorate with a little twirl of filling on top to cover hole. Drizzle with caramel topping just before serving; top with nuts. Refrigerate leftovers.
 Happy Tasting!
PS- This recipe was actually a cake when I found it, so you will have a LOT of filling left over. If you make it in cake form, you are suppose to cut baked/cooled round cakes in half using a bread knife. Layer the cake and filling, leaving the top of the cake without. Drizzle top with caramel and pecans. This way is called "Luscious Four Layer Pumpkin Cake."
Andre loves the filling, so I am going to make some macadamia nut cookies for him to slather the extra filling on and gorge himself into a sweet sweet tastie coma. :)