Showing posts with label fabric flowers. Show all posts

Friday, December 2, 2011

December Craft club- Poppy Headbands!

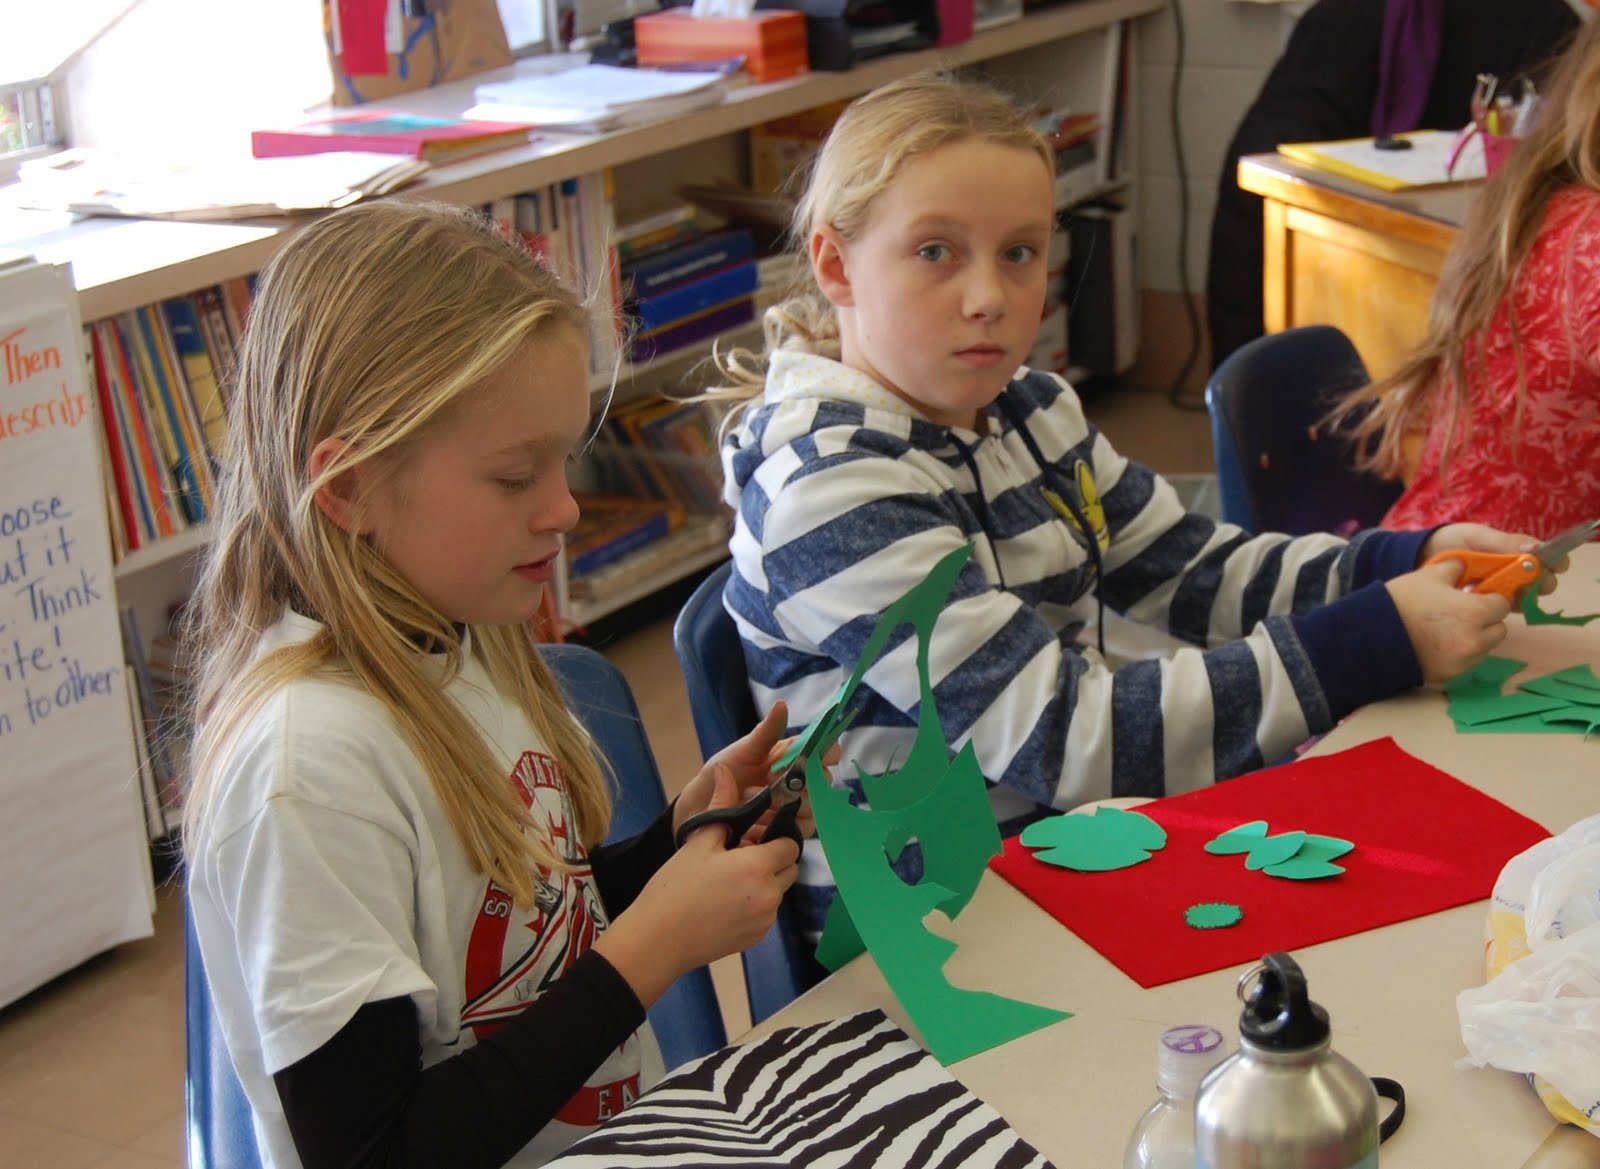
This week was Craft Club week! The girls were super excited because we were going to be making headbands. The headbands we made were modeled after the poppy headband I made in the pic above.

I printed the template for the flower at Factory Direct Craft Blog .

The girls all brought:

a piece of felt

a headband

a button

I provided:

hot glue/hot glue gun

The headbands turned out really fun, and I loved to see how all the different personalities played out in this accessory!
Hard at work!


Isn't she just too stink'n cute?? :)


Cutie pie 5th graders!


Wednesday, October 5, 2011

Rosette Book Mark

Yesterday, I mentioned that I had been working on some projects (Even though I had'nt posted in FO-EVA!) for Chatty Crafty. I also mentioned that I would post some of the little things that I had finished, so here I go...

Rosette Book Mark

The MUST have for the fall/winter season... (not really)


Whether you need a gigantic paperclip for the office.

FORM AND FUNCTION.


Or if you just want to be super stylish while reading....


Aren't they cute?!?!

Great gifts for colleagues, book club friends (I gave my book club ones similiar to this last year.), or great for stocking stuffers.


I will have them at Chatty Crafty ! :)

Or make your own.

Mesh these two tutorials together.... this one and this other one....you'll be set.

Getting a hankering for some spiced pumpkin seeds-


Tracy


Friday, September 16, 2011

Pretty Autumn Wreath

A Big thanks to all who have been patient with me, and my non posting! Ughh!! Seriously...It's making me crazy, but I just have to hold on a little longer...


Anyhoo, (as usual when school starts) I have been crazy busy. Time has been flying by. I can't believe fall is just around the corner. That makes me really, really, really happy! It's my favorite time of the year, and it's pages are full of my favorite colors!! REDS, ORANGES, and even a little GREEN!


Usually, my fall wreath is orange/red, but this year i went the olive green route. I wanted the wreath to match my new beautiful porch bench pillows, so I used the extra fabric to make a couple of the fabric rosettes. My mother-n-law had given me some burlap, two slightly different shades of khaki (one being alllllmost a greenish color), so I used it for rosettes, also. Of course, I thought I would need a small pop of red, so my final rosettes were made with a pattern that had red/orange in it. (Kind of hard to tell in these pics.) Once I made the rosettes and hot glued them onto the wreath (4.99 at Michael's) it seemed like something was missing. I just happened to have purchased some "Autumn Hydrangea" blooms for another project, and they just happen to match my wreath perfectly! YAY! NOW, the wreath was complete.


Everyone have a fabbbbbbbbbbbbbuuuuuuuuulous weekend!!


Trying to get back on track- :)

Tracy


Saturday, March 26, 2011

Spring Wreath

Up until today...the weather has been beautiful here in Chattanooga.(Today it's rain, rain, with a chance of more rain.) It's one of the things I love about Tennessee. Spring. The trees are blooming in lovely shades of pink and purple, daffodils and tulips are popping up all over the place, and the sun is shining! Now that my allergies are somewhat in control, I was able to get outside this week to work in the yard. I really enjoyed it, and was inspired to create a new wreath for my front door that would match how I was feeling...

Of course, I am partial to the yarn wreath (as seen here and here....and here) However, this time rather than going with felt flowers I made fabric rosettes. These rosettes are easy peasy, and c-u-t-e! You can use them for loads of crafts.
Rosettes: (I should have taken pictures, I know!, but I forgot. Sorry.)
*Cut a length of fabric 1/2" wide, and the longer the length, the bigger the flower.
*Put a dab of hot glue in the middle of the end of the fabric. Fold the fabric in half and roll it up tight a few times.
*Put another dab of glue next to the roll and fold it over. Keep folding and wrapping as you go around the outside of the rolled material. Add a dab of glue every 1/2 turn or so.
*When you get to the end of your fabric strip, fold a little of the fabric under the back of the flower,and add glue to the back of the flower.

**Liquid stitch works really great to put flowers together, but I know more folks have a hot glue gun.**
Wreath: Look here for tutorial.

It's so fresh and bright! I love it.

Happy Spring!
Related Posts Plugin for WordPress, Blogger...